
A damaged hole cannot accept a wire thread insert until it has the larger, specially formed internal thread that supports the insert. By following the correct drilling, tapping, checking and installation sequence, you can match the hole to the insert instead of forcing a standard bolt tap into an incompatible repair.
Key takeaways
- An STI tap cuts an oversized thread, not the finished bolt thread.
- Drill to the specified diameter before tapping and remove chips between steps.
- Match tap size, insert length and thread fit to the bolt specification.
- Choose hand, machine, straight-flute or spiral-point taps for the job.
What an STI Tap Cuts Before the Insert Goes In
STI means Screw Thread Insert. An STI tap cuts the oversized internal thread in the parent material before a wire Screw Thread Insert goes in. It matches the bolt’s pitch and thread form but uses a larger major diameter, leaving space for the insert; it does not cut the final bolt thread.
An M8 × 1.25 STI tap and an ordinary M8 × 1.25 machine tap share the 1.25 mm pitch, but their major diameters differ. The ordinary tap is designed to produce the finished M8 thread, so it cannot create the insert seat.
| Tap type | Thread it cuts | Result |
|---|---|---|
| M8 × 1.25 STI tap | Oversized M8 × 1.25 female thread | Receives the insert wire |
| Ordinary M8 × 1.25 tap | Standard M8 × 1.25 female thread | No room for the insert |
| UNC or UNF tap | Inch-series bolt thread | Wrong pitch and thread form for a metric insert |
Do not run a normal metric, UNC or UNF tap through the damaged hole. It leaves the hole too small or produces the wrong geometry, so the insert binds, distorts or cannot enter. Drill the hole first to the insert maker’s STI drill diameter, then use the correct Helicoil insert tap.
Hole diameter, oversized internal thread geometry and square tap alignment must work together; otherwise the insert sits crooked and transfers load unevenly. Check the prepared thread with the matching STI GO/NO-GO plug gauge, not a final bolt.
The Hole-Preparation Sequence from Drilling to Thread Inspection
Prepare the parent hole to the insert maker’s dimensions; do not run an STI tap directly into the damaged thread. Follow this sequence:
1. Drill out the damaged or undersized hole using the manufacturer’s STI drill chart. The specified STI drill size removes enough material for the oversized insert thread. A normal metric, UNC or UNF tap-drill size can leave the hole too small and damage the STI tap.
2. Remove loose material, burrs and chips from the hole. Cut the specified hole chamfer at the entrance: a 90-degree chamfer or approximately 60-degree countersink, according to the insert system. This chamfer removes the burr and gives the first coil a lead-in.
Without it, the insert can sit proud, distort at the first coil or require inconsistent installation torque.
3. Cut the STI thread with the correct tap, keeping it square to the work. Use a tapping guide or rigid machine alignment; freehand angle errors create uneven coil engagement and a crooked insert.
4. Allow extra depth for blind hole tapping. Drill and tap beyond the nominal insert length to accommodate the tap’s chamfered lead, chip space and the full usable thread length. Without this allowance, the insert can bottom early or the tap can break at the hole bottom.
5. Clear every chip from the finished hole, then check it with the matching STI GO/NO-GO gauge. Do not substitute a final bolt or ordinary internal-thread gauge; neither verifies the oversized STI thread correctly.
How to Specify the Tap, Insert Length and Thread Fit
Specify the complete insert system, not just the bolt designation. Start with the nominal thread and standard: M6 × 1, 1/4-20 UNC, 1/4-28 UNF or M8 × 1.25. Then obtain the manufacturer’s chart for the STI drill diameter, STI tap designation and finished internal-thread dimensions.
These values vary by thread standard and manufacturer, so a normal tap-drill table is not a safe substitute; an ordinary M6 × 1 tap cannot replace an M6 × 1 STI tap.
| Choice | What to specify | Why it matters |
|---|---|---|
| Insert length | 1D, 1.5D or 2D | Match required engaged thread length and parent-material strength, not hole depth alone |
| Insert fit | Free-running or screw-locking | Both use the matching STI tap, but the finished insert has a different internal locking feature and installation requirement |
| Hole type | Through-hole or blind hole | Determines usable thread length, chip space and required tap geometry |
A longer insert is not automatically stronger in weak material or a short hole. Choose the length that gives the required load-bearing engagement without leaving insufficient material around the tapped thread.
- Insert system or brand
- Nominal thread and standard
- Insert length: 1D, 1.5D or 2D
- Free-running or screw-locking fit
- Through-hole or blind-hole type
- Parent material
- STI tap style and designation
Choosing a Hand, Machine, Straight-Flute or Spiral-Point STI Tap
Choose the tap style from the hole depth, chip path and required control. A hand STI tap suits repair work, while machine tapping suits production where alignment and torque must repeat.
| Style | Best use | Main limitation |
|---|---|---|
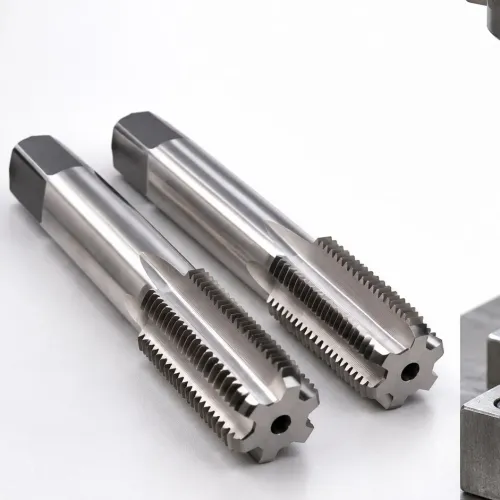
| Hand taper STI tap | Start a through-hole or reasonably deep blind hole | Leaves too few full threads near the bottom of a short blind hole |
| Hand plug tap | Continue hand tapping after the lead has started | Still needs a bottoming tap when usable threads must reach the blind-hole bottom |
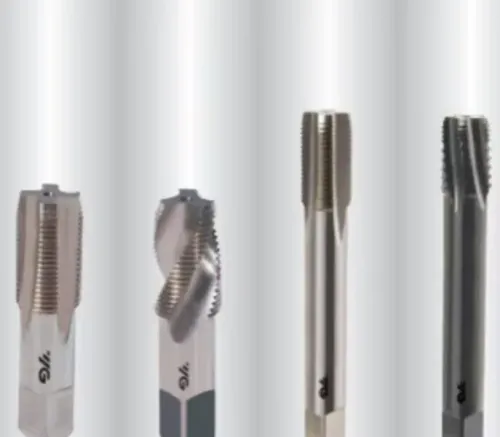
| Bottoming STI tap | Finish a short blind hole close to its base | Needs an accurately started thread and careful chip removal |
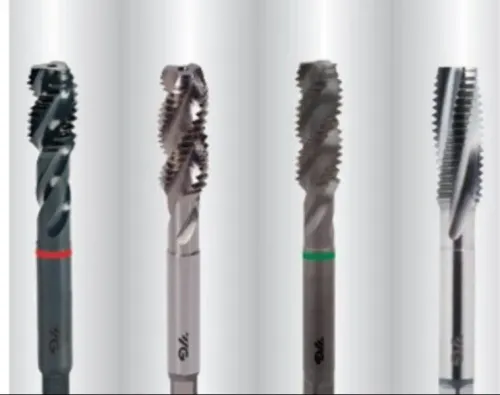
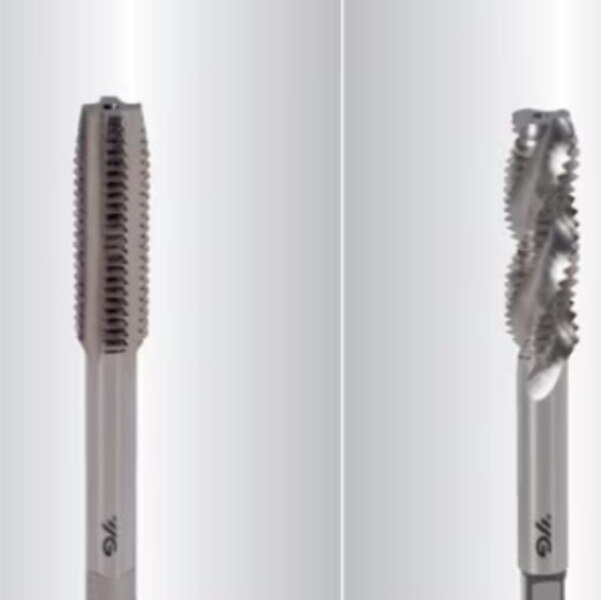
| Spiral-point tap | Machine tapping in through-holes | Pushes chips forward, so chips can pack at a blind-hole bottom |
| Spiral-flute tap | Machine tapping in blind holes | Needs rigid workholding and alignment to prevent deflection or breakage |
Plug tap clarification: a plug STI tap is not the same as a bottoming STI tap. Use the plug tap after the taper lead, then switch to bottoming when the hole provides little spare depth.
Use machine tapping when production volume, repeatable alignment or controlled torque matters. Select the machine for the workpiece, tap size and required speed; poor rigidity can produce a crooked STI thread, broken tap or uneven insert engagement.
Clear chips before installing the insert. R.S. Tools & Engineers Pvt. Ltd. can help a Delhi buyer match the STI tap to the hole geometry, machine and material rather than specifying only the bolt size.
Related products
 | Helicoil Screw Thread Insert Tap Helicoil Screw Thread Insert Tap Product Image Shape:Straight Material:Carbide Color:Black and Grey Usage:For Screw Threadind Purpose View product → |
 | Straight Flute Taps Product Type:Threading Tools Material:Carbide Usage:For Tapping STI Threads Soft Materials Color:Silver and Black Shape:Straight View product → |
Installing the Insert After the STI Thread Is Ready
The tap has prepared the oversized internal thread; it has not installed or seated the wire insert. Complete the repair in this order:
1. Gauge the STI thread with the matching GO/NO-GO plug gauge, then clear every chip from the hole. Chips trapped between the STI thread and insert coil can stop the insert short, raise torque and contaminate the joint.
2. Select the matching insert installation mandrel or tool. Its driving nose engages the insert tang or driving notch and controls the insert’s entry; the STI tap cannot perform this operation.
3. Drive the insert into the tapped hole and check the insert seating depth. Set the top coil below the parent surface, commonly by 0.25 to 0.5 pitch. A flush or projecting coil can interfere with the joint face and suffer damage when the bolt starts.
4. Stop if installation torque rises sharply. Chips, a damaged STI thread, poor mandrel alignment or the wrong tap often cause excess torque; do not treat resistance as proof that the insert is simply tight.
5. In a through-hole, perform insert tang removal when the design requires it. Use a break-off tool or punch, and support thin work before striking so the first coil and parent component do not crack or deform.
6. Install the correct bolt only after the insert is seated and the tang is removed where required. The bolt must start cleanly by hand, without forcing.
Frequently asked questions
What does an STI tap cut before a Helicoil insert is installed?
It cuts an oversized internal thread in the parent material, matching the bolt’s pitch and thread form while leaving room for the insert.
What is the correct hole-preparation sequence for a thread insert?
Drill the hole to the specified STI diameter, chamfer the entrance, tap the oversized thread, clean out chips and inspect the thread before installation.
How do you specify an STI tap and insert length?
Specify the bolt thread size and pitch, STI tap size, insert length in diameters, and the required thread fit. Select insert length for the intended load and available engagement.
When should you choose a hand, machine, straight-flute or spiral-point STI tap?
Use hand taps for controlled manual work, machine taps for repeatable production, straight-flute taps for general applications, and spiral-point taps when chips need to move forward through a through-hole.
What happens after the STI thread is ready?
Clean and inspect the tapped hole, install the insert with the correct tool and depth, then remove the driving tang when the insert design requires it.